Quick Start
Here is a quick, no-choices path to install Immich and take it for a test drive. Once you've tried it, you might use one of the many other ways to install and use it.
Requirements
Check the requirements page to get started.
Install and Launch via Docker Compose
Follow the Docker Compose (Recommended) instructions to install the server.
- Where random passwords are required,
pwgenis a handy utility. UPLOAD_LOCATIONshould be set to some new directory on the server with enough free space.- You may ignore "Step 4 - Upgrading".
Try the Web UI
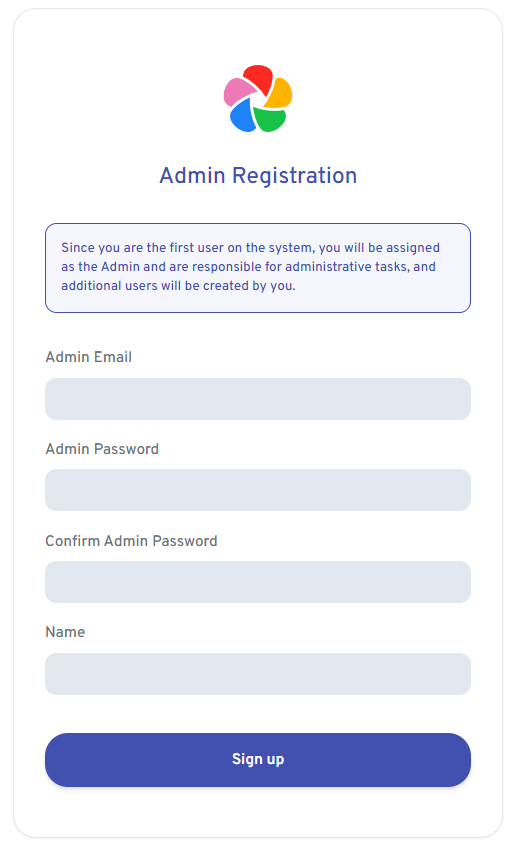
The first user to register will be the admin user. The admin user will be able to add other users to the application.
To register for the admin user, access the web application at http://<machine-ip-address>:2283 and click on the Getting Started button.

Follow the prompts to register as the admin user and log in to the application.
Try uploading a picture from your browser.
Try the Mobile UI
Download the Mobile App
The mobile app can be downloaded from the following places:
Login to the Mobile App
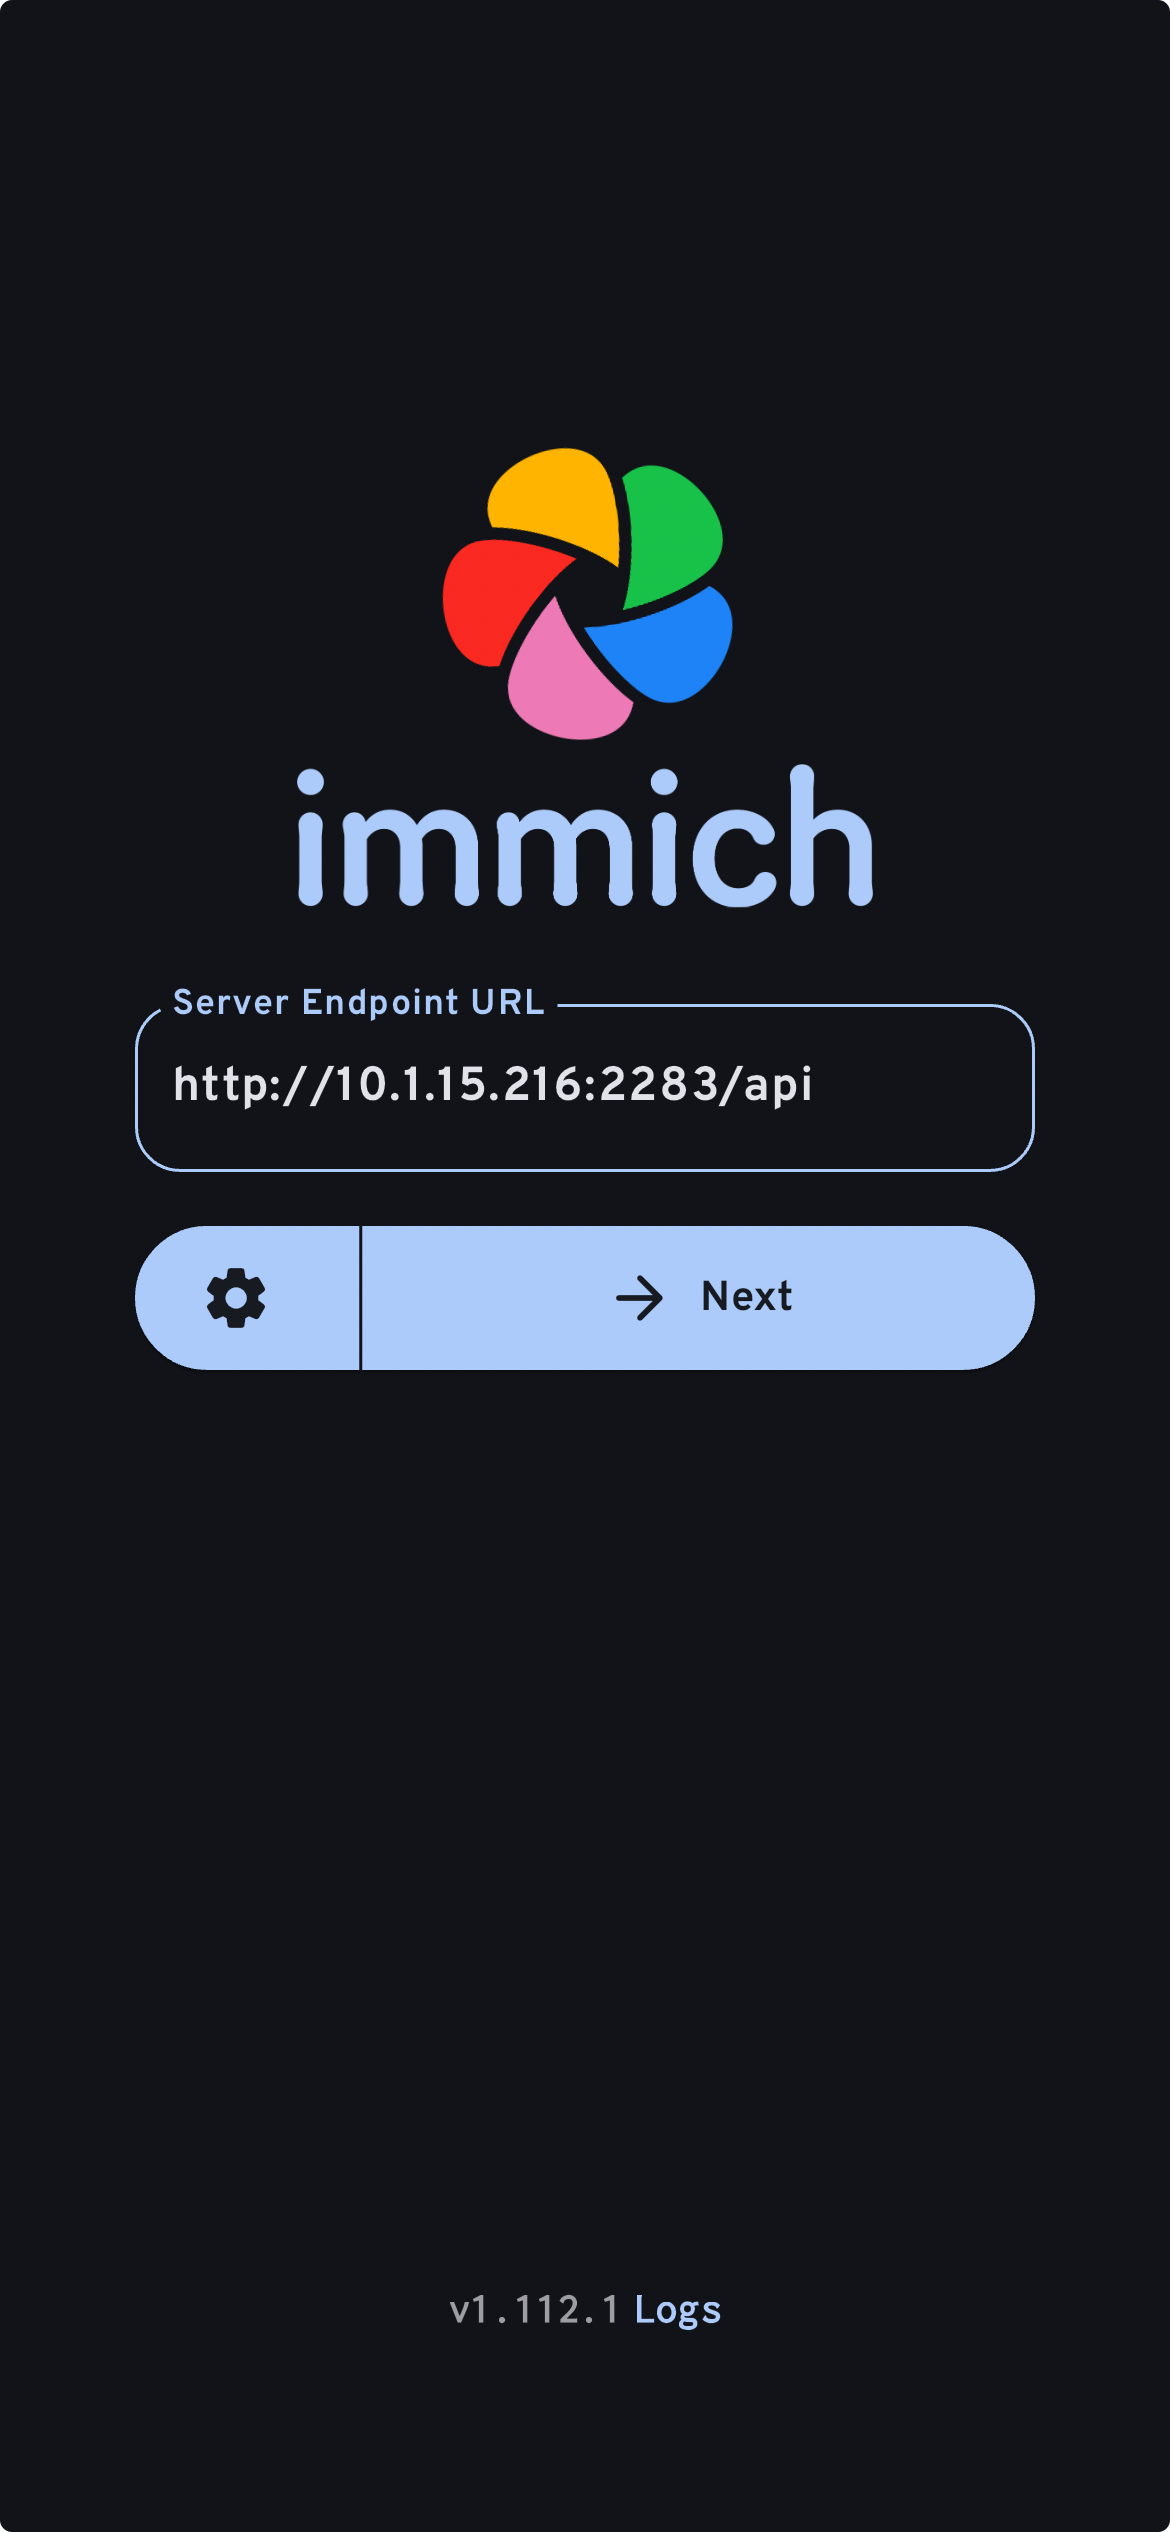
Login to the mobile app with the server endpoint URL at http://<machine-ip-address>:2283/api

In the mobile app, you should see the photo you uploaded from the web UI.
Transfer Photos from Your Mobile Device
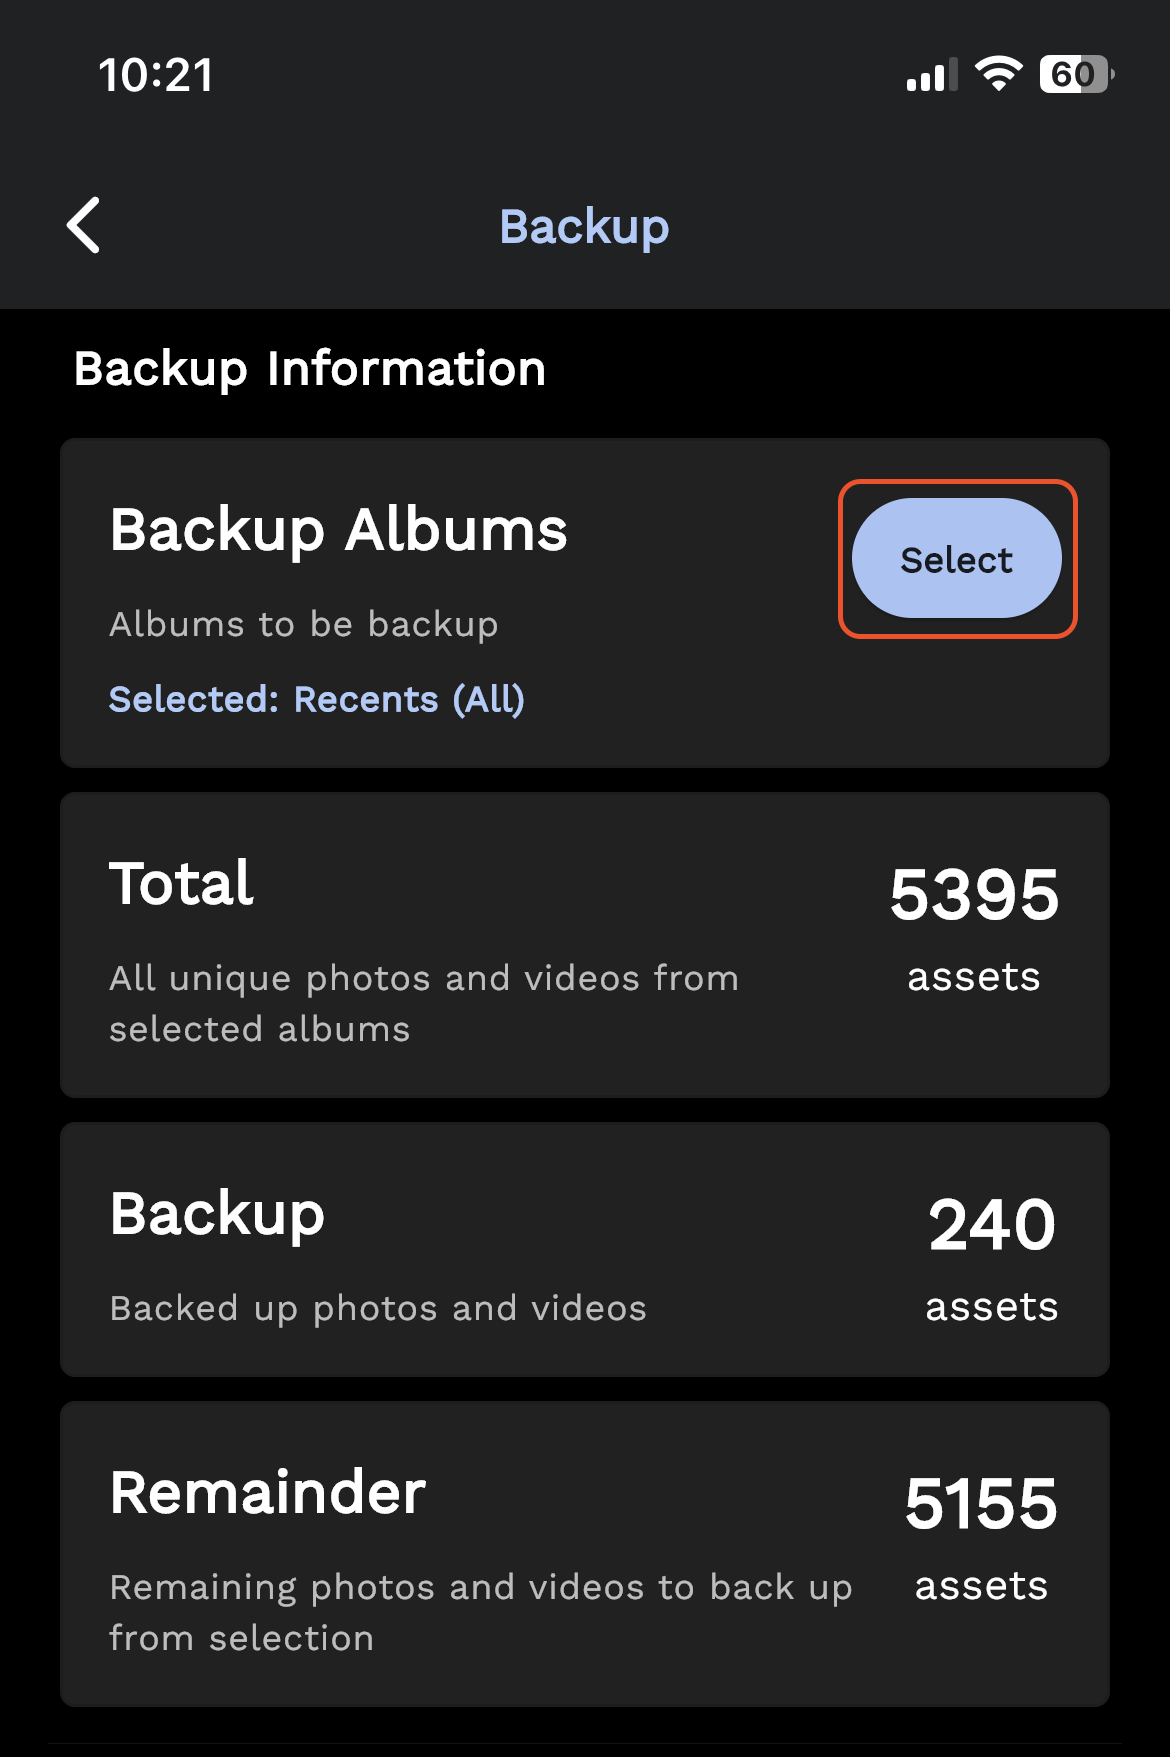
Navigate to the backup screen by clicking on the cloud icon in the top right corner of the screen.

You can select which album(s) you want to back up to the Immich server from the backup screen.

Scroll down to the bottom and press "Start Backup" to start the backup process.
The backup time differs depending on how many photos are on your mobile device. Large uploads may take quite a while.
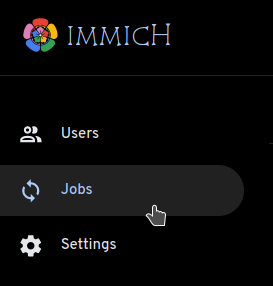
You can select the Jobs tab to see Immich processing your photos.

Set up Your Backups
You may want to back up the content of your Immich instance along with other parts of your server; be sure to read about database backup.
Where to Go From Here
You may decide you'd like to install the server a different way; the Install category on the left menu provides many options.
You may decide you'd like to add the rest of your photos from Google Photos, even those not on your mobile device, via Google Takeout. You can use immich-go for this.
You may want to upload photos from your own archive.
You may want to incorporate an immutable archive of photos from an External Library; there's a Guide for that.
You may want your mobile device to back photos up to your server automatically.